Getty
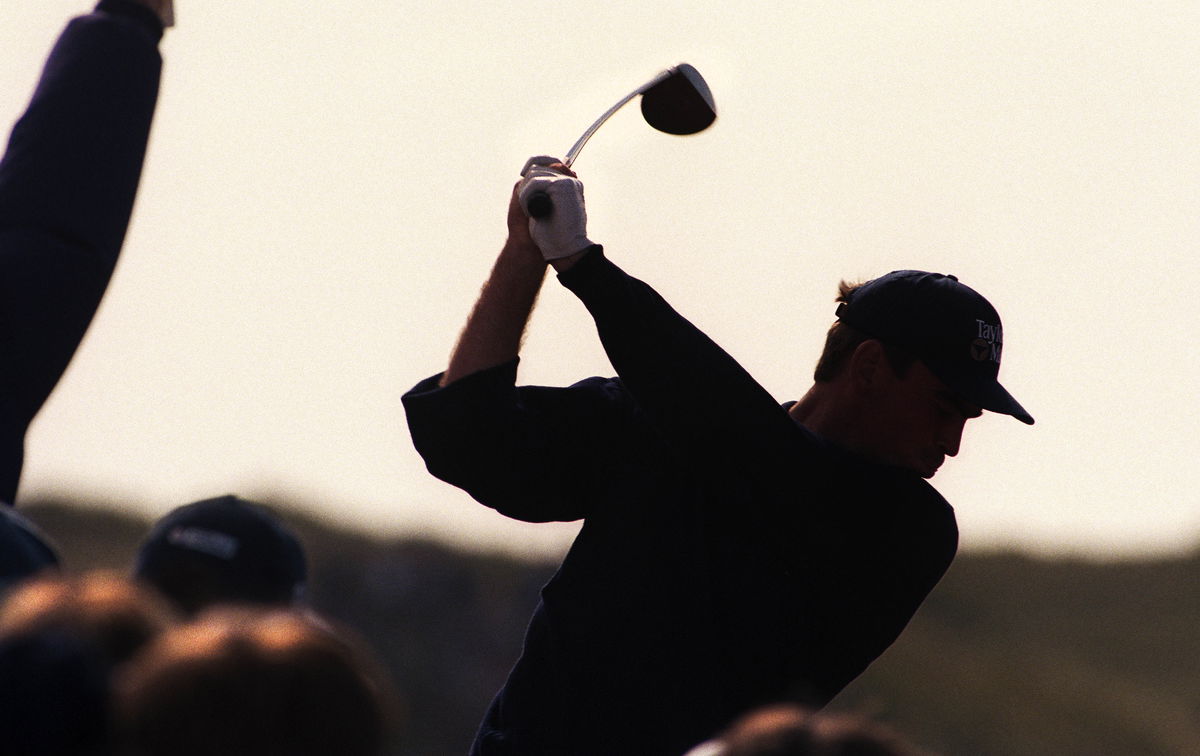
Silhouetted golfer on the tee during the 127th British Open Golf at Royal Birkdale GC in Southport 16th-19th July 1998. (Photo by David Ashdown/Getty Images)

Getty
Silhouetted golfer on the tee during the 127th British Open Golf at Royal Birkdale GC in Southport 16th-19th July 1998. (Photo by David Ashdown/Getty Images)
Watch any Tour golfer on TV and you’ll notice something. Their trail foot comes off the ground after impact, almost dancing through the finish. Then watch yourself on video. Your back foot stays planted like it’s glued to the turf, all your weight trapped on the wrong side. That’s the brutal truth most amateur golfers face. They either hang back on their trailing foot or lunge forward at the ball. The result? Thin shots, fat shots, and zero compression.
Watch What’s Trending Now!
The good news? Fixing your weight shift doesn’t require overhauling your entire swing. You just need three simple drills that pros use to groove proper movement patterns. These drills work because they give you instant feedback and create the right sensations your body needs to remember. Let’s get straight to it.
Ball Behind Lead Heel Drill
Most amateurs let their toe move toward the target first during the downswing. That keeps all the weight stuck on the back foot. Tour players do the opposite—they plant their lead heel closer to the target than their toe.
Here’s how it works.
Place a golf ball against your left heel at setup. Your goal? Move your heel to the outside of that ball during your backswing. Go up to the top and feel your heel shift outside the ball. When your heel plants first, your weight naturally shifts onto your lead side. Meanwhile, proper weight transfer is crucial for compressing the golf ball—studies confirm that shifting weight forward creates the downward strike needed for solid contact.
Start with slow-motion rehearsals. Once you’ve got the feel, progress to hitting balls. You can practice this anywhere, even at home.
Loose Grip/Light Hands Drill
Most golfers grip the club too tightly. That tension prevents natural weight transfer and forces you to muscle the swing.
Start with one-handed swings. Grip near the bottom of the club with just your lead hand. Tee up a ball and make small swings. You’ll quickly realize you can’t force anything with one hand.
Next, try your trial hand only. Many instructors believe this works even better. Without the lead hand’s support, you’re forced to use proper sequencing instead.
Now for the advanced version. Grip the middle of the club with both hands, but neither palm should touch the club. Hold it with just your fingertips.
This makes forcing the club literally impossible. You’ll feel how easily your body can shift weight when you’re not trying to control everything. Pros know that grip pressure around 5 on a scale of 1-10 allows better energy transfer.
Practice this drill between shots on the course. No ball required.
Improve your weight shift with these 2 drills!
LPGA Professional Louise Ball shares how you can transfer your weight to improve your golf swing.
For more tips like this head to the LPGA Professionals YouTube Channel! pic.twitter.com/GYmMKhvyA2
— LPGA Professionals (@LPGA_Pros) June 24, 2025
Alignment Stick Step Drill
This drill coordinates your entire weight shift sequence through rhythm. Place two alignment sticks just outside a narrow stance. Keep that stance narrow—going too wide is a common mistake. Here’s the critical part. Step first, always before moving the club.
The sequence goes like this: Step right, move the club back. When you reach 50-75% of your backswing, step left toward the target. Then complete your swing through impact. It should feel rhythmic: step-throw, step-throw. Not step-and-throw at the same time.
Why does this work? The downswing lasts only 0.3 seconds for tour professionals. You don’t have time to think about shifting weight during the actual swing. This drill programs the correct sequence into your muscle memory.
Start without a ball. Just hit a tee on the ground until you nail the rhythm. Once that feels smooth, add the ball. Keep your steps small.
The beauty of these drills? They work immediately. Practice them regularly and watch your ball striking transform.


